Using the Quiz Tool you can create, send and keep track of quizzes.
To create a quiz:
click “Quiz Constructor” in the Quiz menu of the Messaging tab;
in the “Quiz Constructor” window, select “New Project”;
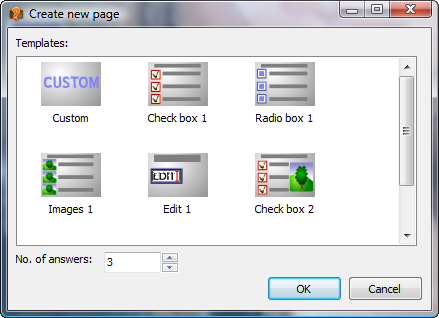
in “Create new page”, select a template to be used and specify the number of answers per question. Net Control 2 includes several pre-defined templates for quiz page construction. In addition, the Instructor can use the “Custom” template and create a quiz from scratch;
For example: If you select option “Check box 1” and specify the number of answers to be 3, the Quiz Constructor window will appear as follows:
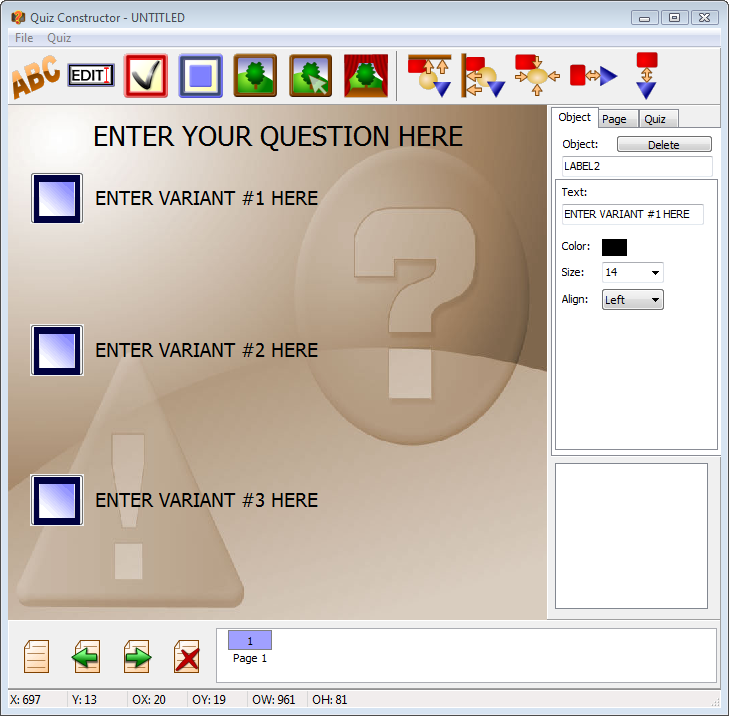
To change text of each possible answer, click it and type the new text of the variant.
By clicking any object in the quiz window, the object's properties will appear in the box on the right-hand side.
The Page tab allows you to set a time limit for each page;
The Quiz tab allows you to set a time limit for the whole quiz.
When constructing quizzes, the Instructor can use the following elements:
Text labels, edit boxes, multi-select buttons, and single-select (radio) buttons:

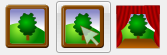
Graphic images, clickable graphic images, and a custom background image:
Align objects in different ways:

Once all the quiz pages are complete go to “File” “Save” or “Save As” to save the quiz.
To edit a quiz:
click “Quiz” in the Messaging tab;
select a quiz from the list in the dialog box;
click “Edit”;
the “Quiz Constructor” will open.
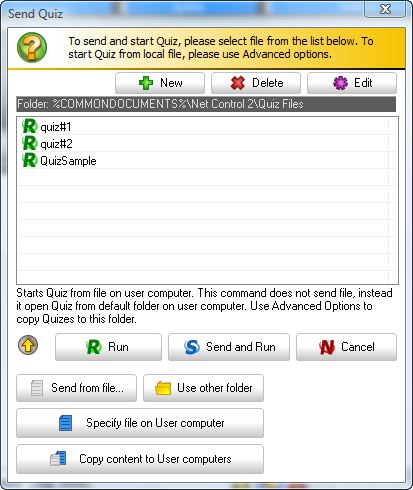
To send a quiz:
click “Quiz” in the Messaging tab;
select the quiz from the list in dialog box;
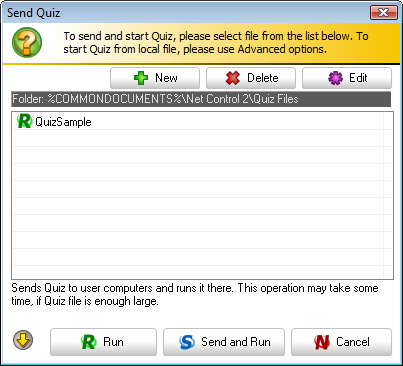
select “Run” to play a quiz located on a remote computer; or
select “Send and Run” to play a quiz located on the Instructor's computer
If a quiz is saved in another folder other than the Net Control 2 default path (%COMMONDOCUMENTS%\Net Control 2\Quiz Files), the instructor can browse to it by clicking on “Send from file” in the “Send Quiz Advanced Options”:
The Instructor can set a different default path for quizzes via the “Use other folder” button for a specific Send Quiz session. For example, if quizzes are saved in My Documents, the Instructor can select that folder and click “OK”.
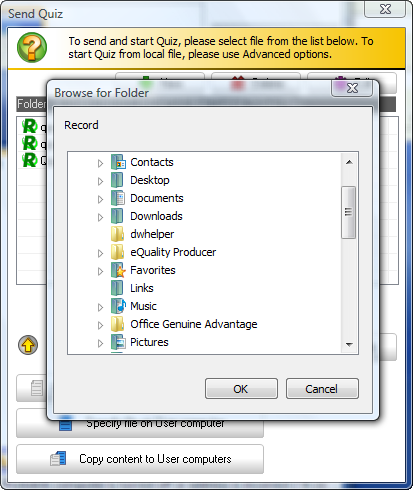
The Send Quiz window will then show all the quizzes saved in that folder:

To start a quiz from a file located on a user's computer in a non-default folder, click “Specify file on User computer”.
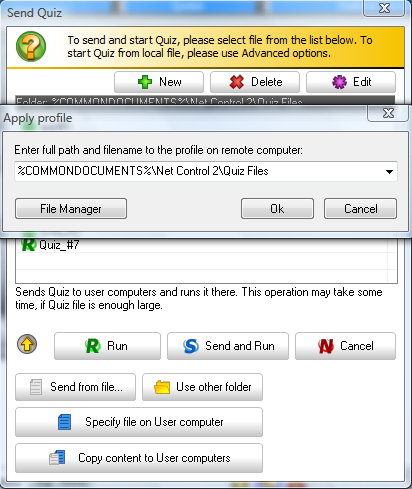
Specify
the path to the file on the user's computer and click “OK”.
Instead of entering quiz file name, instructor can click “File
Manager”
to browse the user's computer for quiz files.
To add a file using “File Manager”, find and select it from the “REMOTE COMPUTER” panel of File Manager, then click the “Open File” button.
When the quiz is sent and started on the user computers, Net Control 2 will display the following initial page on each user computer:

And the Quiz Monitor window will appear on the Instructor’s computer:
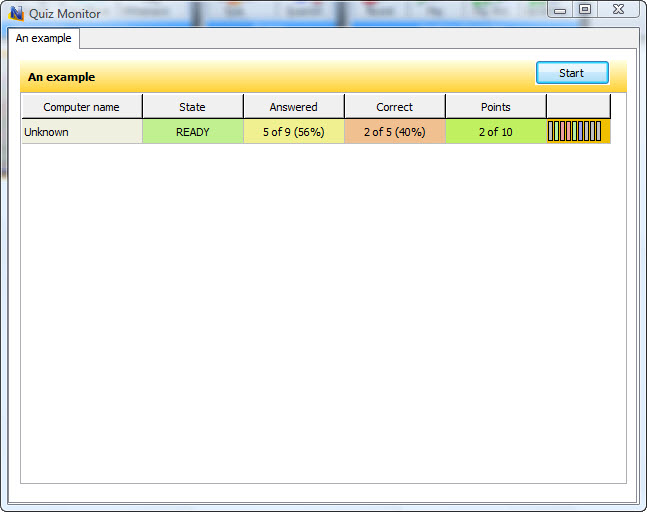
To start testing on user computers, select them in the Monitor window, and click the “Start” button. This guarantees that the testing will start at the same time on all user computers.
The progress of testing and statistics will be displayed in the Monitor window.